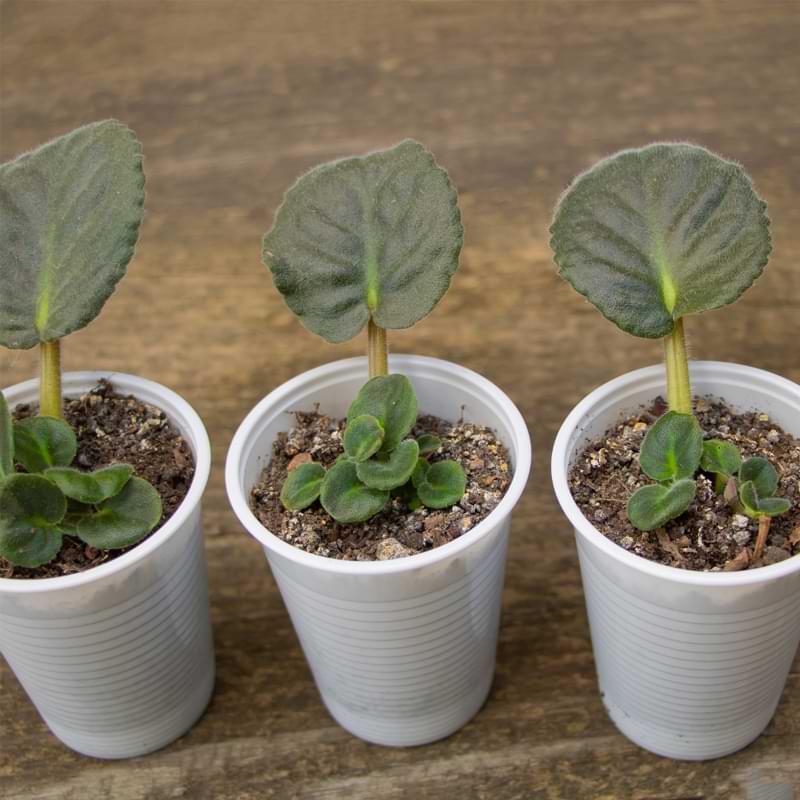
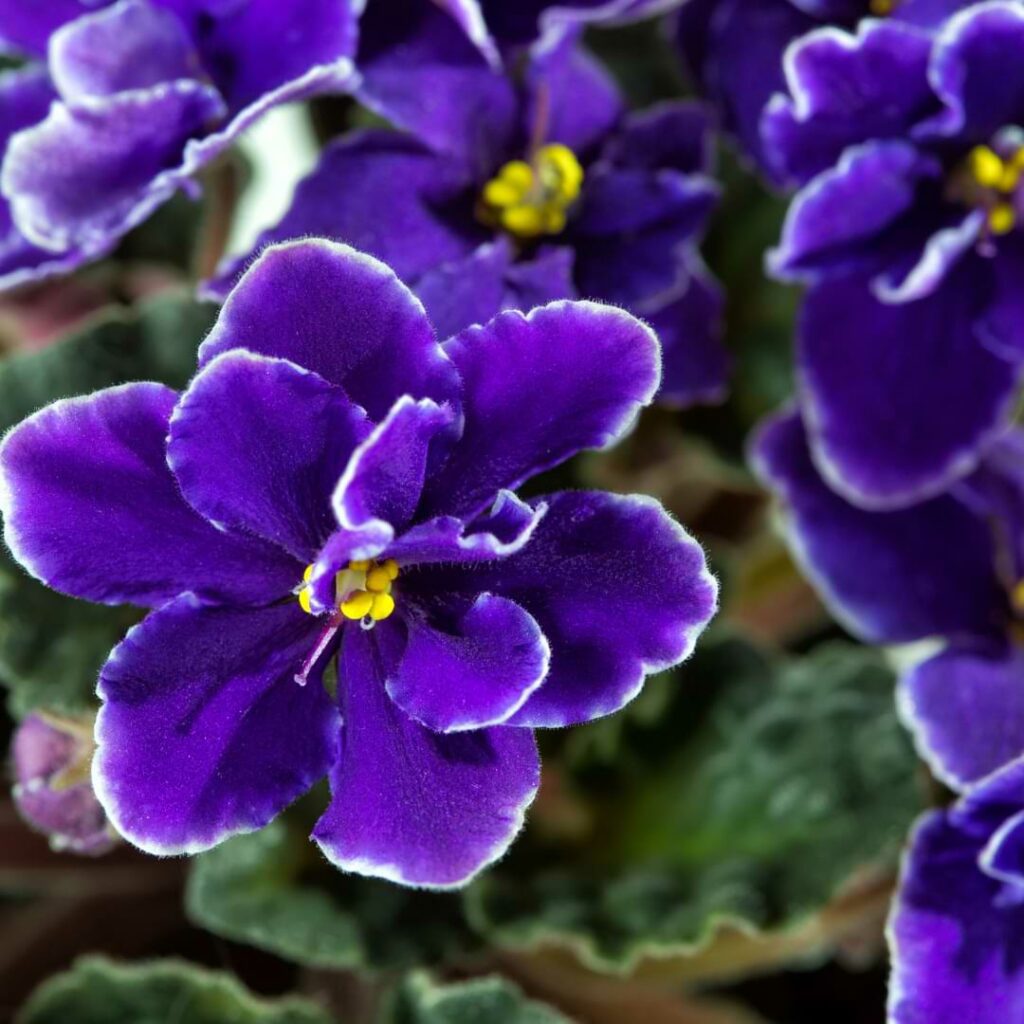
Transplanting your African violets is sometimes a crucial part of their care, ensuring they continue to thrive and bloom year after year. While transplanting is typically done when your beautiful plant needs a larger pot to live in, it can really be done at almost any time, and can be an effective way to divide your African violet and get more plants to enjoy!
How to Transplant African Violets
To successfully transplant your African violets, we have a step-by-step guide for you, just below. But first, you’ll need a few essential tools to help make the job easier and faster.
Tools and Equipment
- Potting mix: Choose a well-draining potting mix specifically formulated for African violets. This will provide them with the right balance of nutrients and moisture retention.
- Pots: Select a pot that is 1-2 inches larger than the current one your African violet is in. Make sure the pot has drainage holes to prevent waterlogging. If you are splitting your African violet and don’t plan to use the old pot, you’ll need two new ones, and should aim for the same size pot as the old one so as not to overwhelm the plant with too much space.
- Trowel or spoon: These tools come in handy when gently removing the plants from their old pots without damaging their delicate roots.
- Watering can: After transplanting, you’ll want to deeply water your plant to help it recover from the move.
- Pruning shears: Use these to trim any dead leaves or spent flowers before repotting your African violets. You’ll also use these to prune away any dead or mushy roots.
Having these tools on hand will make the process quick and simple, and will prevent you having to go find these items in the middle of the process.
Splitting African Violets
To begin, gently remove the violet from its current container and use your hands to carefully divide the root system into smaller sections. You may need to use your pruning shears to help separate more intricate root systems. Aim for at least two to three crowns per division to ensure each new plant has enough foliage to thrive.
Check for Root Damage and Disease
Checking for root damage is essential to ensure the continued health and vitality of your plants, and right now will be the most convenient time to do this while your plant is out of its pot.
Carefully shake off excess soil and examine the roots closely. Look out for any discoloration, mushy or slimy roots, as these are indicators of root rot or disease. Healthy roots should be firm and white. If you notice any damaged or diseased roots, use your clean and sanitized pruning shears to trim them off. Make sure to cut at least half an inch above the affected area to prevent further spread of infection. If you do have to prune off dead or dying roots, clean and sanitize your pruning shears after you are done in preparation for the next step.
Removing Spent Flowers and Dead Leaves
Look closely at the base of each flower stem and along the edges of each leaf. If you see dead leaves, browning leaves, spent flowers, or other issues with the foliage or flowers, use your pruning shears to carefully prune these unwanted parts as close to the main stem as possible. Be sure to dispose of these cuttings properly, as they can harbor pests or diseases if left around the plant.
Repotting
Once all of the above steps are complete, it’s time to put your plant into its new pot. Fill the new pot with about an inch of the new potting soil, and carefully place your African violet in the pot. Don’t allow the whole plant to rest at the bottom of the pot–hold it up as you gently backfill the root system with the new potting soil, ensuring the roots have enough space and aren’t smashed together.


Care After Transplanting
After successfully transplanting your African violets, it’s important to provide them with the right care to ensure their health and growth. Here are some steps you can take:
Watering
When watering your African violets, it’s important to strike the right balance and pay attention to your plant in case your watering schedule needs to be altered.
To avoid overwatering, always check the moisture level of the soil before watering. Stick your finger about an inch deep into the soil – if it feels dry, then it’s time to water. However, if it still feels moist, hold off on watering for a few more days. Using a moisture meter will also give you a good idea of when your plant needs to be watered, and it has saved many plants from both under- and over-watering.
Light, Temperature & Humidity
African violets thrive in bright, indirect light. Placing them near a north or east-facing window is ideal as it provides gentle morning sunlight without the intense heat of the afternoon sun.
These delicate plants prefer a relatively stable environment with temperatures ranging between 65-75°F. Extreme temperature fluctuations can stress the plants and hinder their growth. Avoid placing them near drafts or heating vents that can cause sudden temperature changes.
Humidity levels also play an important role in maintaining healthy African violets. Aim for a moderate humidity level around 50-60%. To increase humidity, you can place the pots on humidity trays filled with water and pebbles or use a humidifier nearby.
Fertilizing
When fertilizing your African violets, it’s important to follow the instructions on the packaging carefully. Over-fertilization can lead to salt buildup in the soil, causing damage to the roots and foliage. Start by diluting the recommended amount of fertilizer in water before applying it to your plants.
African violets have specific nutrient requirements, which is why it’s recommended to use an African Violet plant food that is applied every time you water your plant. This provides a smaller amount of nutrients more often, allowing your plant to use nutrients more efficiently as they are needed.
Common Problems After Transplanting
Transplanting African violets can sometimes pose challenges, and it’s important to be aware of common problems that may arise after the process. Here are a few problems to look out for shortly after transplanting your African violet.
Wilting or drooping leaves: This could indicate that the plant is in shock from being disturbed during transplanting. To combat this, make sure to provide extra care and attention by keeping the soil moist but not overly wet.
Root rot: This occurs when excess water accumulates around the roots, and prevents the roots from being able to absorb oxygen and nutrients. When this happens directly after transplanting, it’s likely that incorrect soil was used, and is something that needs to be fixed quickly to ensure your plant’s recovery.
Best Time To Transplant
Ideally, you should aim to transplant your African violets during their active growth period. This usually occurs in spring or early summer when they are entering a phase of new growth and producing fresh leaves and buds. This ensures that the plant has enough energy to recover from the shock of transplantation. Transplanting during this time also allows the roots to establish themselves before winter arrives, providing them with ample time to grow and absorb nutrients from the soil.
How Often Do African Violets Need Transplanting
Generally, it is recommended to transplant African violets every 12 to 18 months. This time frame allows the plant enough time to establish its roots in the current pot while also preventing it from becoming root-bound.
If you notice that your African violet’s leaves have become crowded or cramped within its current container, it might be a sign that it needs repotting sooner rather than later. Additionally, if you see roots starting to protrude through the drainage holes or circling around inside the pot, it’s definitely time for a transplant.
On the other hand, if your violet is thriving and has plenty of space in its current pot, you can extend the time between transplants up to two years. Just make sure to keep an eye out for any signs of stress or stunted growth as these could indicate that a larger home is needed.
Transplanting African Violets Verdict
Transplanting African violets doesn’t have to be intimidating once you familiarize yourself with each step involved in the process. By preparing yourself beforehand, following these simple steps, and keeping a watchful eye on your plant after the process is complete, you can go on enjoying your beautiful African violet until the next time you need to repot it!
Join the African Violet Club!
Whether you’re just starting out or are a seasoned grower, African Violet Resource Center has everything you need to help your plant grow vibrant and strong. Explore our other articles, visit our online shop, and connect with other houseplant lovers in our Facebook group to learn everything you need to know about this rewarding hobby!
More Great African Violet Resources
The Best Houseplants for Your Environment
Everything You Need to Know About African Violet Leaves
6 Signs Your African Violet Is Dying and How to Revive It
Endless Summer: Here’s How to Grow an African Violet Garden That BLOOMS


