African Violet Propagation by Leaf Cutting and Dividing Plants
Want to expand your African violet collection or give gifts to fellow houseplant lovers? Luckily for you, African violets are easy and inexpensive plants to propagate. This is just another reason why African violets are such popular houseplants—it’s easy to share them with others!
There are multiple methods for propagating African violets, all of which are easy enough that even a beginner should have some success. If you are ready to have more African violets without going to the plant store, your options are propagating African violets by seed, by leaf cuttings, or by dividing.
Each method has different pros and cons. Keep reading to find out more about the different options and decide which method will work best for you.
Propagating African Violets by Seed
Growing new African violets from seeds is not as common as starting African violets from cutting or dividing plants; however, it takes just as long and you’ll get more plants from seeds.
You’ll also get more variety when starting from seed. African violet seeds require cross-pollination between two plants, and you can get very different African violet types from the same seed pod. The surprise makes starting African violets from seeds fun and rewarding.
To start African violets from seed, I suggest that you buy the seeds rather than try to collect your own. Hand-pollination is not always successful, and even when it is, the seedpods need months to mature.
Once you have the seeds, you’ll prepare to plant them by adding a few tablespoons of water to your growing medium until it feels moist. Place at least a ½-inch layer of growing medium in a shallow container.
Then carefully spread the seeds evenly across the container. It’s easier to do this by dumping a few seeds on a piece of paper and then tapping the paper while moving over the container. African violet seeds are teeny-tiny and hard to pick up otherwise.
To encourage the seeds to germinate, place a clear plastic lip, plastic wrap, or plastic bag over the container to keep the seeds from drying out. Keep the seeds between 70 and 80 degrees Fahrenheit. The seeds will also need about 10 hours of light a day. You can use artificial lights if you do not have windows with enough light.
The seeds will take anywhere from 2 to 5 weeks to begin sprouting. Not all African violet seeds will germinate, so don’t feel bad when a few refuse to sprout.
You’ll see the first blooms 6 to 9 months after planting seeds. It takes a little patience, but the fun of seeing which African violet varieties emerge is well worth the wait.
Propagating African Violets by Leaf Cutting
Most people choose to propagate African violets by leaf cutting over seeds. You’ll get fewer new African violets from cuttings than from seed, but cuttings have a few advantages. Cutting produces a new plant that is a clone of the mother plant, so you’ll know exactly what you’re getting before you begin. You also don’t need to order anything because you’ll take the cutting directly from a plant you already have.
There are two methods for propagating from cuttings. You can either propagate cuttings in potting mix or you can propagate cuttings in water. Both methods are easy to follow and usually result in a new healthy African violet.
Keep reading to decide which method is the best for you.
Propagating African Violets in Potting Mix
Starting African violets in potting mix is easy. You’ll just need a few supplies (most of which you probably already have on hand).
Materials
- A healthy African violet to take cuttings from
- African violet potting soil
- Sterile scissors or a knife
- Small pots
- A plastic bag or cover for the pots
Step 1: Choose several leaves to propagate.
Not every cutting will successfully create a new African violet, so you need to pick a few extra leaves. The best new African violets come from healthy leaves. Avoid any leaves that have brown spots, holes, or curling edges.
Choose leaves from the middle rows. The top layers are not quite mature enough to create strong new plants, and the bottom leaves are past their prime.
Step 2: Cut the leaves you have selected.
Once you know which leaves you want to use, pinch each leaf from the mother plant. Then use the sterile scissors or knife to cut the stem to about 1½ inches. Make the cut at a 45-degree angle to give the stem more surface area for roots.
Some people choose to cut off the top half of each leaf to encourage the cutting to put more of its energy into creating new roots. This step is optional. You won’t see too much of a difference in the time it takes for your leaf to take root either way.
Another optional step here is to dip the cut stem into a rooting hormone. This can encourage the cutting to root faster as well. It’s not absolutely necessary, but if you plan to do a lot of propagation, rooting hormones can be useful.
Step 3: Pot the cuttings.
Prepare your containers by filling them with African violet potting mix. African violets need lightweight soil that allows water to drain quickly. Add just enough water that the soil would clump together if you squeezed it.
Use your pinky to poke a hole in the soil in each container. Then place one stem in each. Bury the stem to the base of the leaf, and use a small object like a plant tag to help the leaf stay upright.
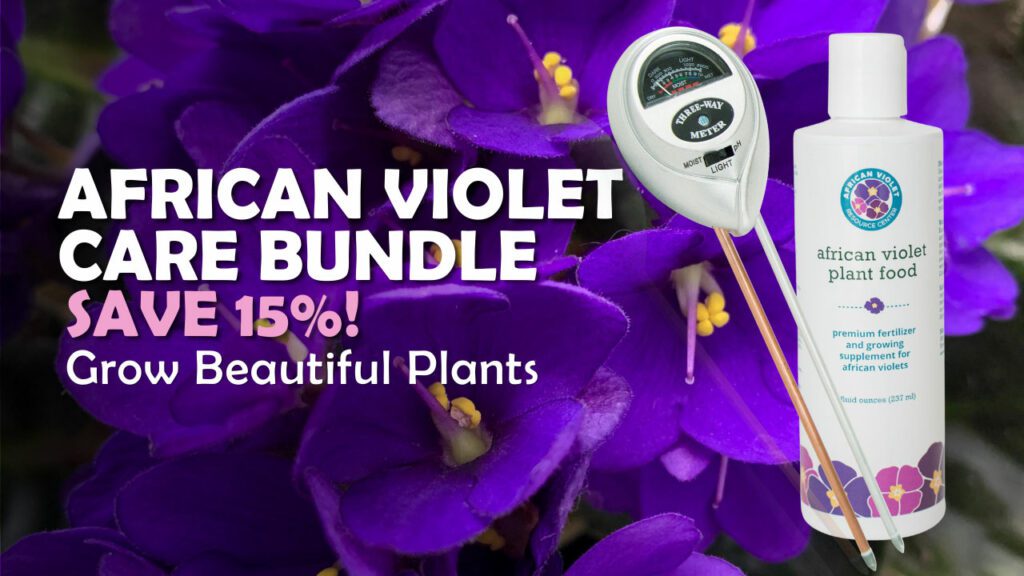
If you have trouble keeping your cuttings upright in their container or medium, you should try these easy-to-use node holders! This handy propagation tool is a simple way to keep root cuttings healthy and in place while they take root, which gives those roots more room to grow without the added pressure of supporting the plant’s weight. This plant node support also helps your cuttings root faster!
Step 4: Care for the cutting.
Once the cuttings are in their new containers, you just need to care for them until new growth occurs. The cuttings propagate best in greenhouse conditions. Use a plastic bag or lid to cover the containers to keep moisture in. Just don’t let your leaves touch the plastic.
Place the cuttings in a window where they will get indirect sunlight. Too much direct sunlight or heat will cause the leaves to burn.
Check regularly to make sure that your cuttings have enough moisture. Don’t allow the containers to dry out completely.
Step 5: Transplant the cuttings.
There’s no rush to move the cuttings to a larger container. You’ll see tiny new plants beginning to develop after about 8 weeks. These little plants will have the best chance of surviving if you allow them to develop 3-4 leaves before removing them from the cutting and potting them on their own.
When you move the tiny new plants to their own containers, be sure to use African violet potting soil. (Regular houseplant soil is too dense for African violets.) The new plants will seem to grow slowly at first, but be patient. In several months, they’ll be more mature and ready to bloom.
Propagating African Violets in Water
Many houseplant owners are most familiar with propagating new plants in water. If you’re one of these houseplant lovers, the good news is that it’s very easy to propagate African violets this way.
Here’s what you’ll need.
- A healthy African violet to take cuttings from
- A jar or other container
- Plastic wrap
- Lukewarm water
- Sterile scissors or a knife
Step 1: Prepare the jar or container.
Select a jar or container with a wide mouth. Fill the container with lukewarm water, and place plastic wrap over the opening. If needed, secure the plastic wrap.
Step 2: Choose a leaf to propagate.
Just like propagating in a potting mix, you’ll need a healthy leaf to propagate in water. Choose a healthy leaf without any blemishes or spots. Leaves from the middle row are best as they are mature enough to produce a healthy new plant.
Pinch the leaf from the plant. Then cut the stem at a 45-degree angle, leaving about 1½ inches of stem. Be sure to use sterile tools to cut the stem—you don’t want to introduce bacteria.
Step 3: Place the cutting in the container.
Use an object like a pencil or a skewer to poke a hole in the plastic wrap. Place the cutting through the hole so the stem touches the water.
Step 4: Care for the cutting.
Place the jar in a window with bright, indirect sunlight. Direct sunlight or excessive heat can burn the leaf.
Change out the water every 7-10 days, using lukewarm water each time. Leaving the same water in the container for too long can allow bacteria and fungus to grow, so don’t forget to switch out the water.
When you see roots begin to develop after a few weeks, you can add a tiny drop of liquid fertilizer to the water if you want to, but it’s not a necessary step.
Once the tiny new plants are about a ½ inch in size, you can remove the plant from the water and pot it in a small container filled with African violet potting mix.
Step 5: Transplant the cutting.
African violets are happy in small containers. You probably won’t need to move your tiny new African violet to a larger container for a while. When the plant looks like it’s out of room in the first container, then it’s time to pot up to a slightly larger one.
New African violets do not grow quickly, so don’t worry if yours seems to be taking its time. Just continue watering regularly and giving your plant access to 10 hours of light each day. Small containers dry out more quickly than larger containers, so you may notice that you need to water your new African violet a little more frequently than you water other African violets.
FAQ: African Violet Propagation Questions
Still have a few questions about African violet propagation? Here are some of the most common concerns.
How Long Does it Take a Cutting to Root?
An African violet cutting takes about 3 to 4 weeks to form new roots. Around 3 to 4 weeks later, you will begin seeing new leaves. Once there are 2 to 3 new leaves growing, it’s time to repot. This process can take anywhere from 2 to 6 months.
How Do You Collect Seeds From African Violets?
To collect seeds from an African violet, you’ll need to hand-pollinate African violet flowers. If you are successful, a seed pod will form about a month later. Allow the pod to mature for 2 months, then carefully crack open the pod to collect the seeds.
Are African Violets Easy to Grow From Seeds?
Most people start African violets from cuttings, but African violets are fairly easy to start from seed as well. It takes about the same amount of time. You’ll likely need to order the seeds because they can be difficult to collect on your own.
Propagation Temperature
Wondering what temperature is best for your tiny new African violets? Part of what makes African violets so easy is that they do well in normal household conditions. As these new plants develop, keep the temperature between 70 and 80 degrees Fahrenheit during the day and between 65 and 70 degrees Fahrenheit at night.
Mature African violets prefer the same conditions as developing African violets, but the mature ones can handle the occasional dip or rise in temperature. For developing African violets, a deviation from the preferred temperatures can stunt or kill the new plant, so avoid allowing the temperature to get above 85 degrees or below 60 degrees.
Dividing African Violets
In addition to starting seeds and taking cuttings, you can propagate African violets through division. The advantage to dividing African violets over other methods of propagation is that you get a healthy, mature plant from the start; you won’t need to wait 6 to 9 months to see blooms. Of course, the downside is that you usually only get one new plant when dividing, but sometimes it’s possible to divide an African violet into multiple new plants.
When dividing African violets, you’re actually separating foliage clusters. It’s only possible to divide an African violet once the plant has developed multiple crowns. (A crown is the gathering point of multiple stems.) If your African violet only has one crown, you’ll need to use a different method of propagation instead.
The first step before beginning to divide your African violet is to water the plant and let it sit for a couple of hours. The roots will be more flexible and less prone to damage if they are hydrated.
When you’re ready to move on, take the African violet out of the pot. Ideally, you should be able to gently untangle the roots and pull apart the different foliage clusters. If the roots are too entwined and difficult to separate, you can slice a few of the roots using a sterile knife. Try to avoid this if possible, though, because cutting the roots can sometimes allow an infection to develop. If you do need to use a knife, cut through the roots in one motion instead of sawing back and forth.
Once the different foliage clusters are separated, you can repot them in their own containers. Fill up the containers with African violet potting mix, leaving room for the plant at the top. Gently place the new plant’s roots in place, and then cover with soil up to right below the bottom leaves.
Water each African violet and place them in a window with good light. From here on, you’ll continue to care for the new plants just like you would any other mature plant. The new plants may take a little time to adjust to their new containers, but there should not be any major changes.
Join the African Violet Club!
Whether you’re just starting out or are a seasoned grower, African Violet Resource Center has everything you need to help your plant grow vibrant and strong. Explore our other articles, visit our online shop, and connect with other houseplant lovers in our Facebook group to learn everything you need to know about this rewarding hobby!
More Great African Violet Resources
How Do I Get My African Violet to Bloom Again?
A Quick Primer on African Violet Pots